How to Install XAMPP on Windows
-

- by Mcs June 27, 2025
XAMPP is a free cross-platform solution stack package for web servers developed by Apache Friends that includes an Apache HTTP server, the MariaDB database, and both PHP and Perl script interpreters.
This article is designed with the express purpose of teaching readers how to install XAMPP on Windows without the need for component configuration so that they can easily use the full features of PHP and other tools.
What is XAMPP?
A fully featured set of tools offered in a single package makes XAMPP versatile. With XAMPP, there is no need to download and set up individual components like Apache, MariaDB (or MySQL), PHP or Perl since the package comes pre-bundled with all of it. XAMPP simplifies and speeds up the process of creating a local server environment regardless of your expertise. An intuitive interface and integrated tools make user engagement easier, especially for beginners.
Benefits of using XAMPP
XAMPP can run seamlessly on Windows, Linux, and Mac OS which makes it an extremely handy solution. The open-source architecture makes it easy to setup the software. Its minimalistic design and lightweight structure makes environment setup for development, testing, and deployment pu effortless.
Installing XAMPP on Windows
Now that we know how good it is, let’s download and install XAMPP.
NOTE: if you want to use Tomcat, you should have JAVA JDK/JRE installed on your computer.
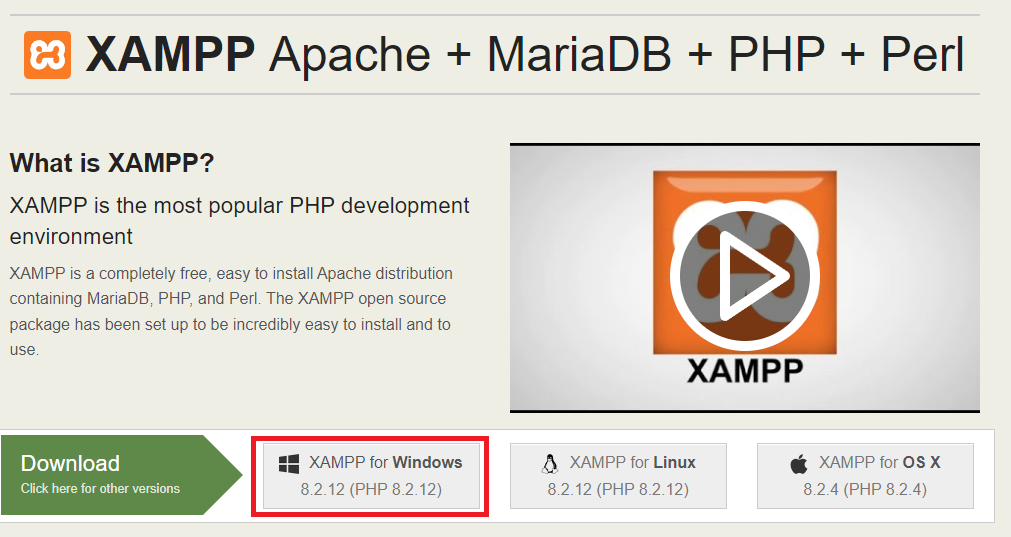
Download XAMPP: Visit the official XAMPP website (https://www.apachefriends.org/index.html) and download XAMPP for Windows.
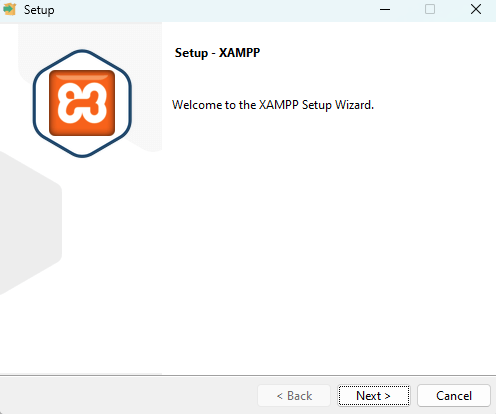
Run the Installer: Once the download is complete, locate the downloaded file and double-click to run the installer. You may be prompted by the User Account Control (UAC) to allow the installer to make changes to your system. Click “Yes” to proceed.
Choose Components: In the installer window, you’ll be presented with a list of components to install. By default, Apache, MySQL, PHP, and phpMyAdmin are selected. You can customize the installation by selecting or deselecting components as needed. Click “Next” to continue.

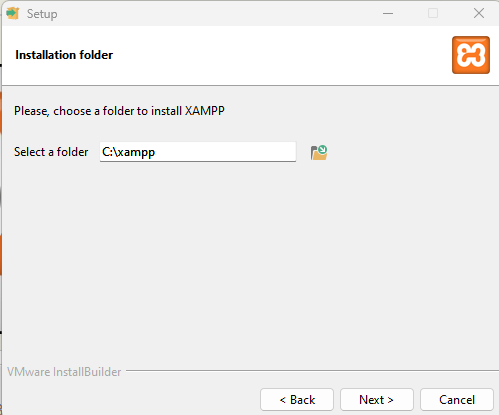
Select Installation Directory: Choose the directory where you want to install XAMPP. The default directory is usually “C:\xampp,” but you can choose a different location if desired. Click “Next” to proceed.
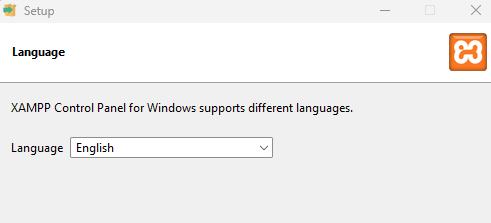
Select your language: From the dropdown, select the language of your preference.
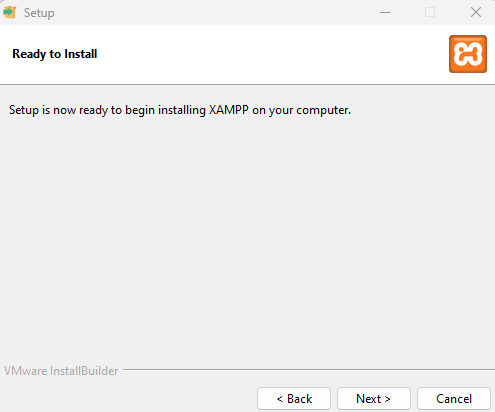
Start Installation: Click on the “Next” button to begin the installation process. The installer will now copy files to the selected directory and set up XAMPP on your system. This may take a few minutes to complete.
Complete the Installation: Once the installation is finished, you will have the option to launch the XAMPP Control Panel with a checkbox. Check the box to launch it and click “Finish.”

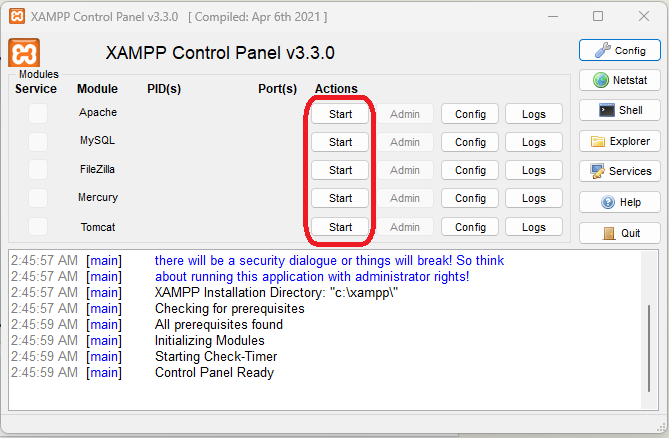
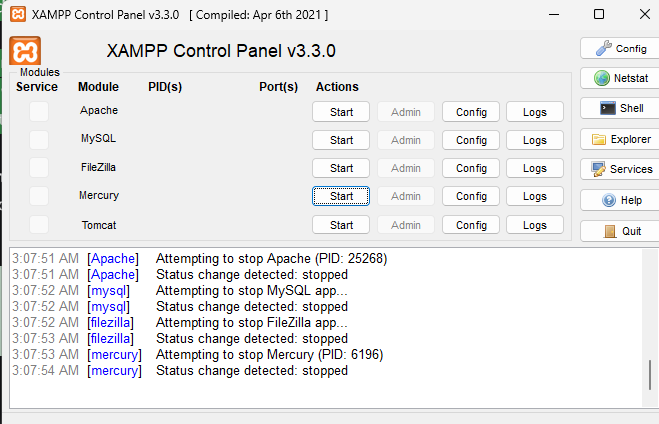
Start Services: In the XAMPP Control Panel, you’ll see a list of services such as Apache and MySQL. To start these services, simply click on the “Start” button next to each service.
Verify Installation: Open a web browser and navigate to http://localhost/. If XAMPP has been installed successfully, you should see the XAMPP dashboard, indicating that Apache and other services are running correctly.
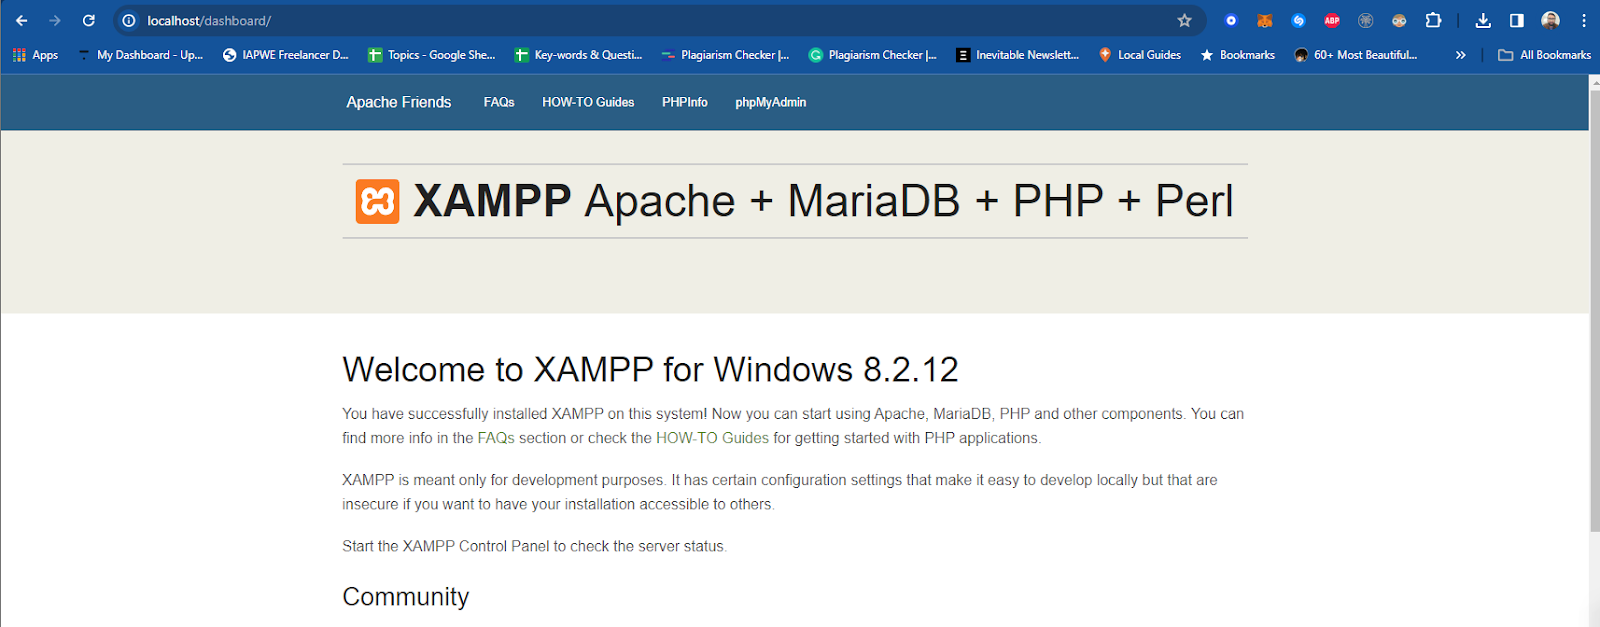
If you see this page load, it means you have successfully installed XAMPP.
Error in starting XAMPP
XAMPP uses port 80 to operate. If at any point of starting the services, you face an error and you are unable to start XAMPP, it could mean that some other service is using port 80. You can try stopping the service and then try restarting XAMPP. It could fix.
Creating a test page with XAMPP
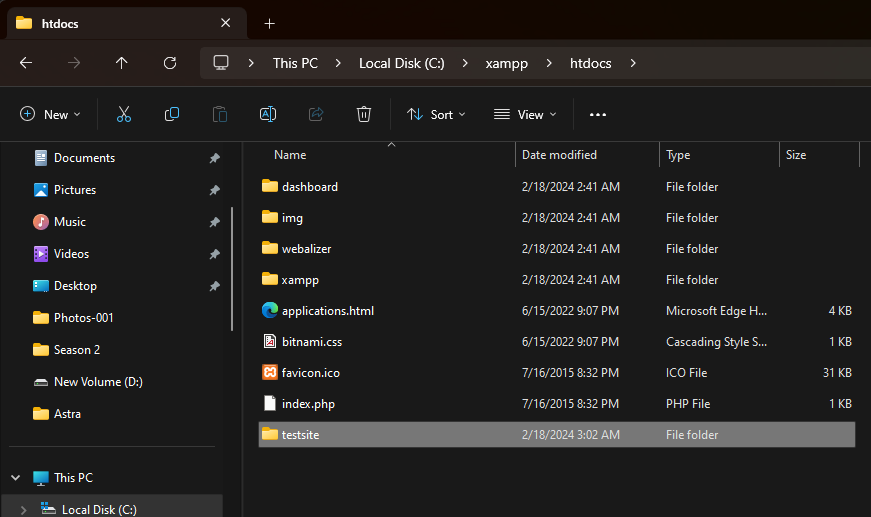
To create a test PHP website with XAMPP, begin by navigating to the XAMPP installation directory, usually located in “C:\xampp\htdocs”. Within this directory, create a new folder for your website, naming it as desired (e.g., “testsite”).
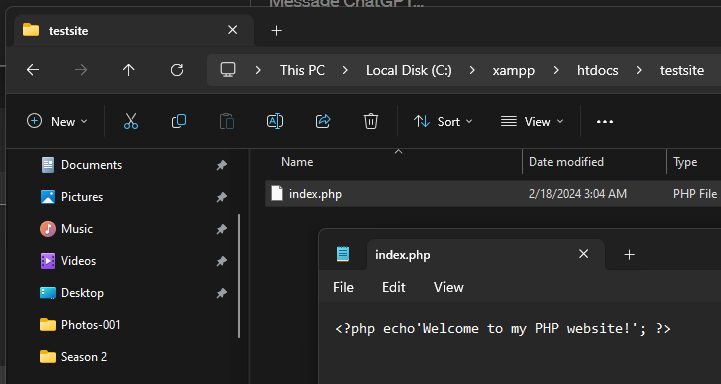
Inside this newly created folder, proceed to create a new file named “index.php” using a text editor like Notepad or Visual Studio Code. In this “index.php” file, write some basic PHP code to display a message. For instance, you can write “<?php echo ‘Welcome to my PHP website!’; ?>”.
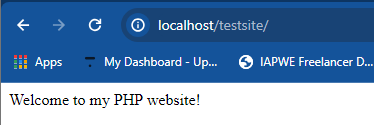
Once you’ve written the PHP code, save the file. You can then access your website by typing “http://localhost/mywebsite” into your web browser’s address bar. Make sure to replace “mywebsite” with the actual name of the folder you created earlier. Upon pressing Enter, you should see the message “Welcome to my PHP website!” displayed in the browser window. This confirms that your PHP website is successfully running on your local server.
For further testing and development, you can create additional PHP files within the same folder or incorporate HTML, CSS, and JavaScript code as needed. Additionally, you can explore interactions with a MySQL database to enhance the functionality of your website.
By following this process, you can efficiently develop and test your website locally using XAMPP before deploying it to a live server environment.
Uninstalling XAMPP from your computer
Before uninstalling XAMPP from your computer, make sure that all the services that you’ve started in the beginning have been stopped.
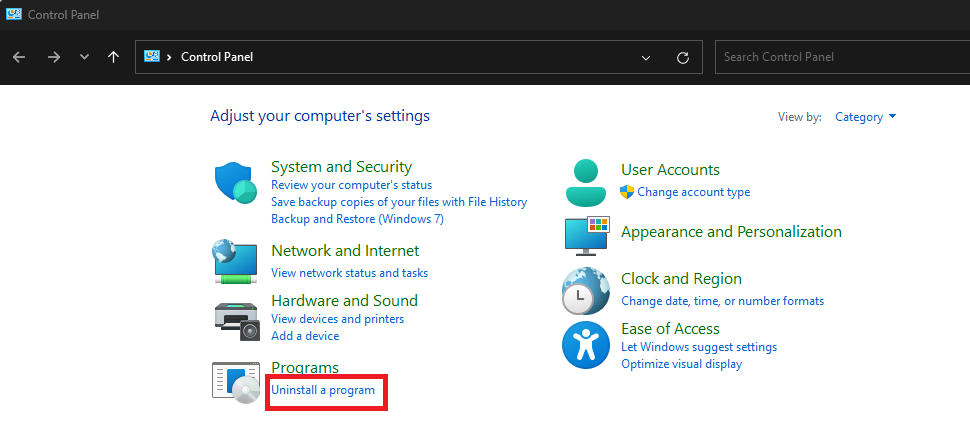
Now close the application, and head on to the control panel. Under “Programs” and click on “Uninstall a program”.
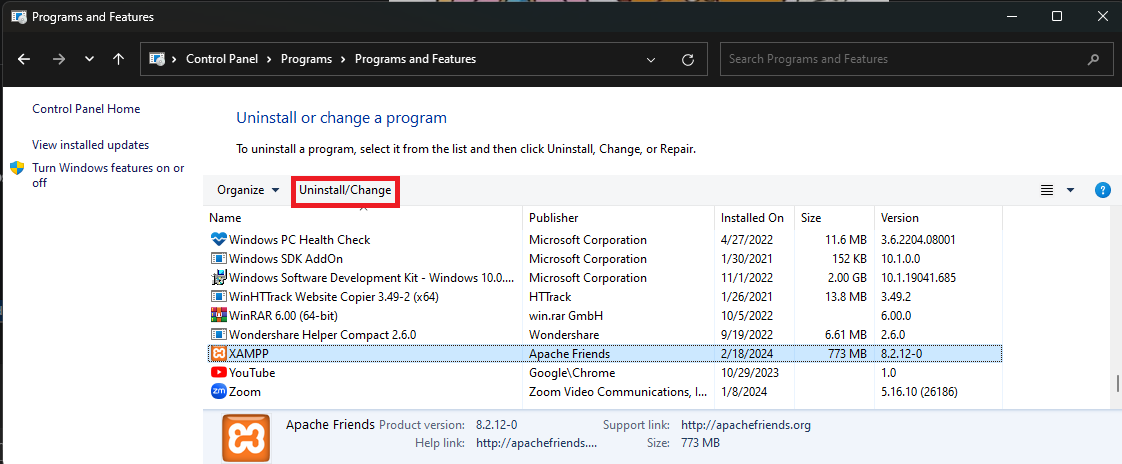
On the next window that opens up, you’ll have a list of all the programs installed on your computer. Scroll down to find XAMPP and then click on the “Uninstall/Change” button (as highlighted).
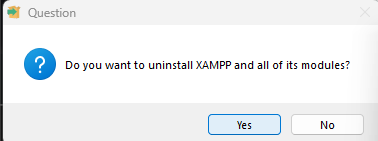
You will be prompted to confirm if you want to remove XAMPP and all of its modules. Select Yes.
After that, you’ll be asked to confirm if you want to delete your “htdocs” folder too. You can select yes or no based on your preference. After the selection, the uninstaller will start removing it along with all of its components.

Once this completes, XAMPP will be completely removed from your computer.
Conclusion
Installing XAMPP Windows allows everyone to set up a web-development environment in no time. By following the step-by-step instructions outlined in this article, users can effortlessly install Apache, MySQL (or MariaDB), PHP, and Perl, empowering them to embark on web development projects with ease. With XAMPP’s intuitive interface and comprehensive feature set, developers of all levels can harness its power to streamline the development, testing, and deployment processes. Whether you’re a seasoned professional or just starting out, XAMPP stands tall as an invaluable tool in your web development arsenal, offering a hassle-free way to unleash your creativity and bring your projects to life.


Comments
Add new comment